Using the Scanner For Handwritten Documents
It is probably best to write the document with a felt tip marker.
- Go to the Macintosh Aral near the window in front of
the lab.
- If the scanner is not already on, please be sure and turn
Aral off (shutdown from the special menu) before powering the
scanner on. Turning on a SCSI peripheral while a machine is on
can cause serious damage.
- Place your document facedown lined up with the upper right corner of the scanner.
- Start Adobe Photshop LE from the Apple Items menu to the
left of the menu bar.
- Select Acquire->Silverscan III from the File menu.
- Change the resolution from its default of 400 dots per inch to 72.
(This will save you a lot of time !)
- Change the scanning mode from Full Color to Gray-16.
- Press the Acquire button.
- From the Image menu select Image Size... and change the
height to 10 inches while leaving the constrain file size box
unchecked.
- Choose Sharpen->Unsharp Mask... from the Filter menu.
- From the Mode menu, first change to RGB. Then change
to Indexed. By first changing to RGB, you will be offered the option
of choosing how many bits per pixel. By now choosing 3, the final
image file produced will be about 50 % smaller than it would be with
its previous value of 4.
- Choose Save As from the File menu.
Select Compuserve GIF as format. Name the file something.gif.
You can temporarily create a folder
beneath Development:Users if you need to store the file in the lab.
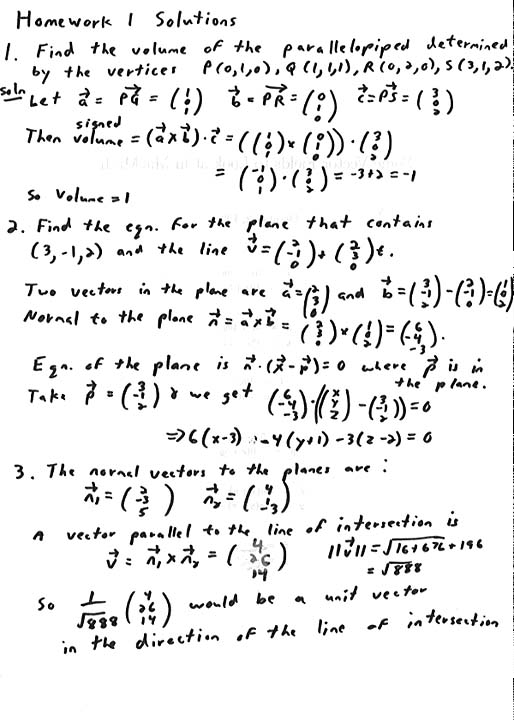
Below are some handwritten samples illustrating the possibilities:
Thanks to Mathlab consultant David Lee for his aid in identifying these
procedures !
Home Page
Last Update: March
12, 1996